Moist and Tender Marble Cake
Moist and Tender Marble Cake
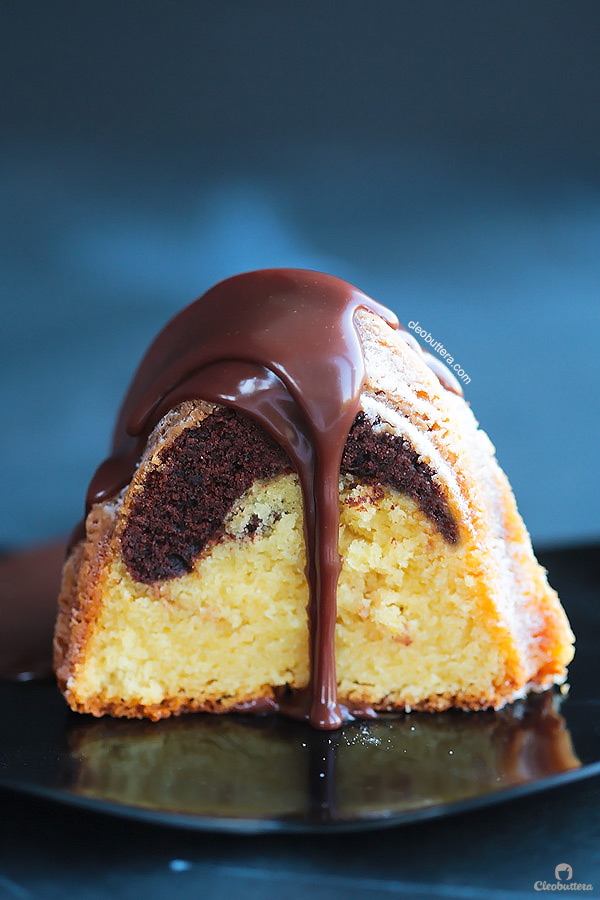
A simply PERFECT recipe for the all-time classic cake! Super-moist with a tender crumb that slices like velvet. The vanilla and chocolate marry beautifully in texture, yet pleasantly contrast in color and flavor. A luscious milk chocolate ganache glaze, takes it over the top!
I have a long long loooooooooong list on my phone’s notes for things I want to bake.
Many of which are of things I’ve never made before and can’t wait to explore, a whole lot are of oldies that I’m determined to tweak to perfection, and quite a bit are of crazy concoctions that I’m dying to test out!
Out of the dozens and dozens of recipes that made it on my To-Bake-List, marble cake was never one of them.
Because to be honest…boooooooooooring.
To me, marble cake was nothing but a dull, confused cake lacking any distinction between the vanilla and chocolate components. This “supermarket” cake is more often than not dry, and the chocolate flavor could be confused with brown food coloring. Those that did a better job at delivering a more robust chocolate flavor, fell in textural issues. There was just no harmony in consistency between the vanilla and chocolate portions.
It just never really hit the spot.
I blame it on both consuming (and making) my fair share of mediocre marble cakes. So much so that I’d long chosen to close the book on it and never look back.
Until…
Until my sister-in-law pushed my buttons.
She told me that they’ve been living off of this overpriced loaf of marble cake from one of Cairo’s finest bakeries. She kept going on and on about how good it is, but she’d rather have a homemade version in her back pocket. When she asked me if I had a good recipe, I answered her with: “I divorced marble cakes a long time ago.”
But then when my other sister-in-law said that she too had been buying the same cake, followed by my mom’s equally shocking confession, it was like a big slap on the face! A wake up call that marble cakes haven’t lost its charm, and that I better give it the attention it deserves.
I had absolutely no idea that such an old cake still had this huge appeal.
That’s it! I’m convinced! Bring on the marble cake!
All I needed was a really good recipe to start with. Easy right?
Wrong!
I tried SO many recipes in the past 3 weeks to find THE one, that I never want to see a marble cake again!
Until next week
Many trails later, tweaks here and there and several frustrating attempts at getting the chocolate portion right, I could finally say that I now have a marble cake recipe worthy of sharing with you.
This recipe takes the marble cake from “meh” to deeeeeeelish! It is actually now such a delight to eat, that it has become a regular at our house. Look who was hating on marble cakes earlier?! Oh people change…C’mon. Or in that case, recipes change.
And my sister-in-law, the reason behind all this…couldn’t agree more. She said that it is ” the best marble cake ever!”
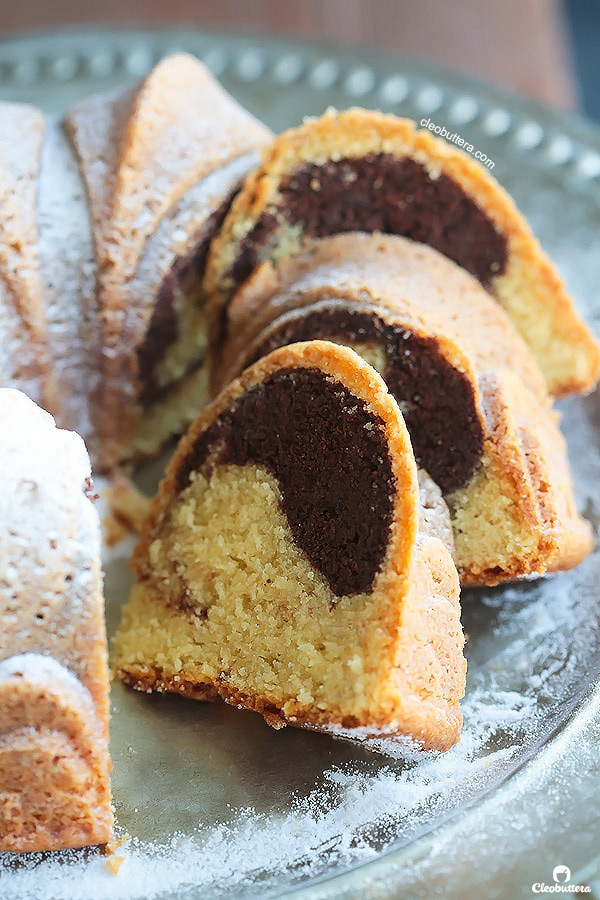
The cake is a far cry from all my marble cake nightmares.
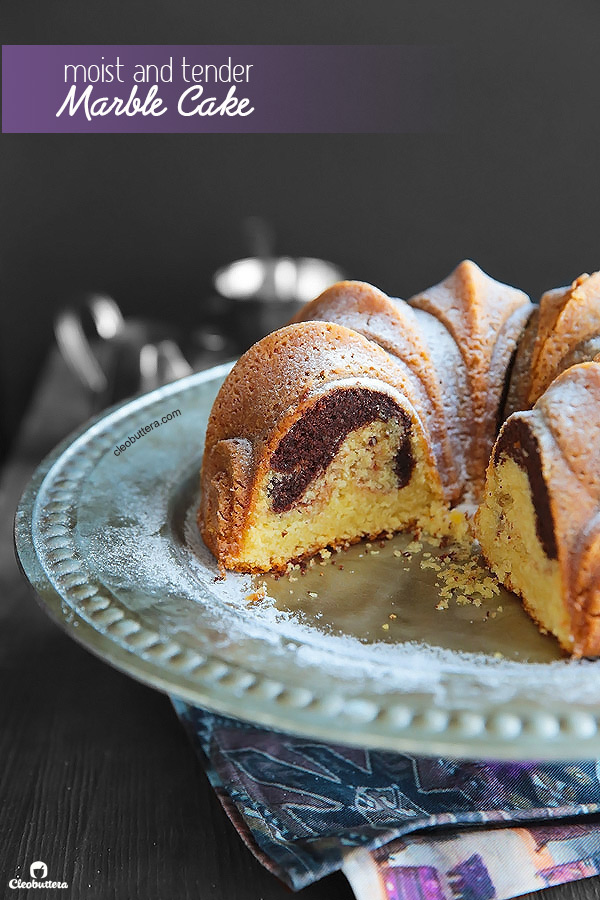
It is superbly moist (thanks to sour cream and a generous amount of butter in the batter) with a delicate crumb that slices like velvet. The chocolate and vanilla components have the perfect yin-yang relationship. Each distinct and special in it own right, yet harmoniously marry in texture and consistency.
The vanilla cake base is warm, aromatic and buttery while the chocolate swirl is rich in flavor without tasting dark and bitter. Which makes it perfect for kids and adults a like. The chocolate component has the exact same texture as its vanilla counterpart, not denser or drier as it often is. I employed several tricks to achieve that, which I’ll explain further in the step-by-step visuals.
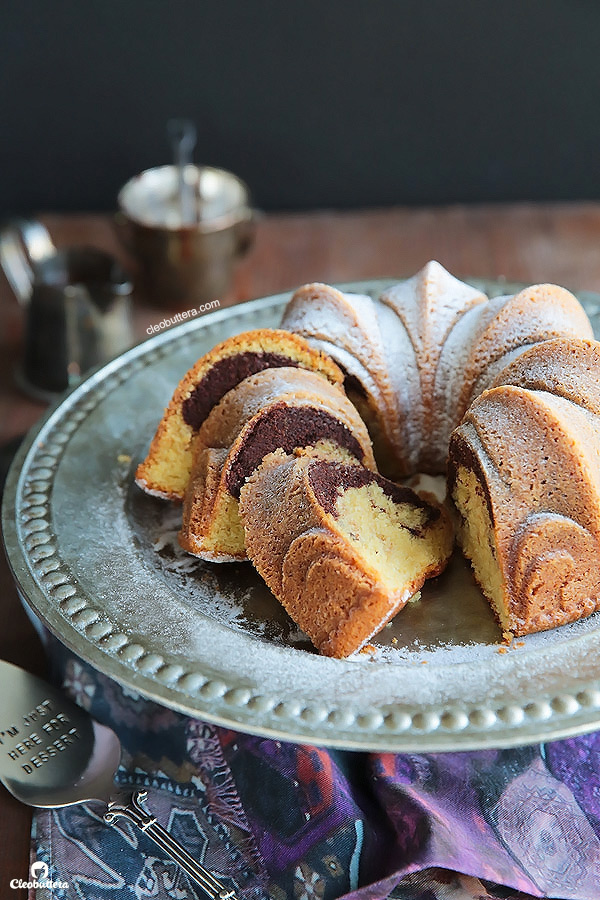
To take the cake’s deliciousness a step further, I can’t even recommend this chocolate ganache glaze enough. Pour it on top of the cake or straight in your mouth and you’ll feel like you’ve gone to chocolate heaven. It is hands down the most delicious milk chocolate glaze I’ve ever tasted.
We really need to pause for it just a second because it is UNREAL!
I borrowed the recipe from my newest addition to my cookbook collection, The Baking Bible by Rose Levy Bernanbaum where its called ‘custom rose blend ganache.’ Rose uses a combination of white chocolate (which I’m not a fan of btw) and dark chocolate thinned out with some hot heavy cream. The result is a milk chocolate ganache that triumphs all milk chocolate ganaches! It is not too sweet, perfectly balanced and incredibly creamy.
If you’re not gonna make it for this marble cake, then please do yourself a favor and make it for EVERYTHING else.

Now let’s talk cake, shall we?
You’ll begin by beating the butter on its own until very creamy and ribbon-like. Then you’ll add in the sugar.
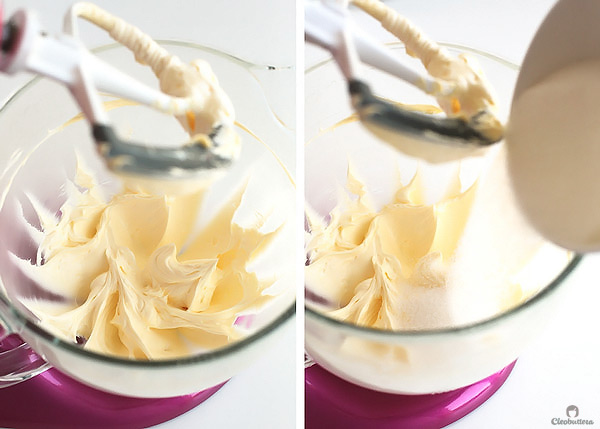
Then you’ll beat the heck out of them until the mixture turns very pale in color and SO fluffy! Like soon….
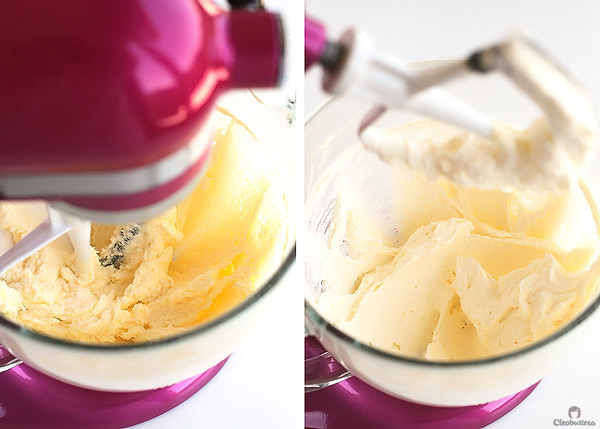
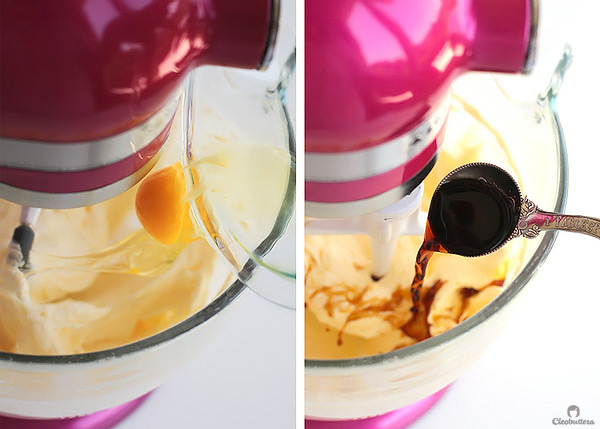
Then goes in 2 eggs and a yolk; one after the other. Make sure you beat well after each addition. Then add in a generous amount of vanilla. Because why not?
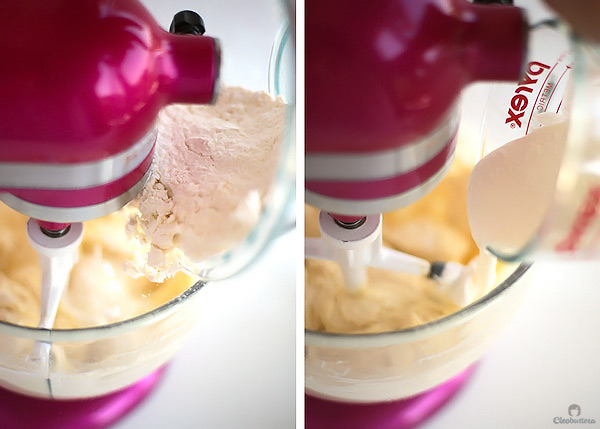
In goes 1/3 the amount of the flour mixture (which includes a lot of cornstrach for tenderness, leaveners and some salt), then 1/2 the amount of a mixture of sour cream and milk (oh sour cream batters, how do I love thee).
Repeat…1/3 flour mixture, rest of sour cream mixture and ending with the flour.
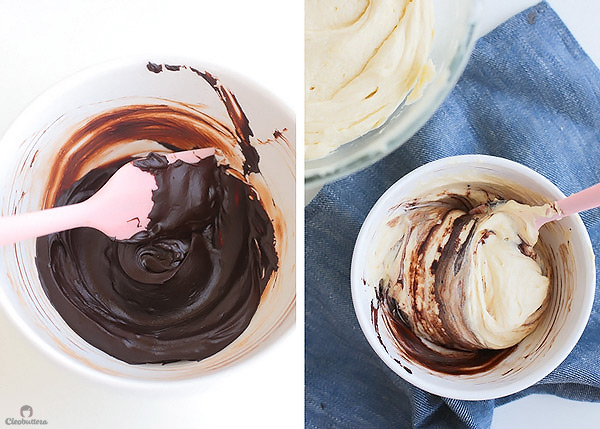
To make the chocolate marbling batter, you’ll make a chocolate paste from unsweetened cocoa powder, hot milk, melted butter, a little sugar and teeny bit of baking soda. Then you’ll fold that into 1 1/2 cups of the vanilla cake batter.
*BAKING SCIENCE ALERT! Through experimentation, I found that while the recipes that folded melted dark chocolate into the vanilla batter, produced a bold chocolate flavor, it lend to a texture that was more brownie-like and dense. Not that brownie is a bad thing, but I just didn’t like how differently it felt on the tongue compared to the vanilla cake portion. When I tried just folding some cocoa powder into the batter as some recipes call for, it dried out the cake. A combination of cocoa powder and water/or butter was a bit better but tasted bitter. So I ended up using a mixture cocoa powder (for minimal textural change), some sugar (to counter the bitterness of the cocoa powder), some butter and milk (for added moisture and richness) and finally a tiny bit of baking soda (for some lift, so the chocolate proportion is as fluffy as the vanilla).
Now marbling time!
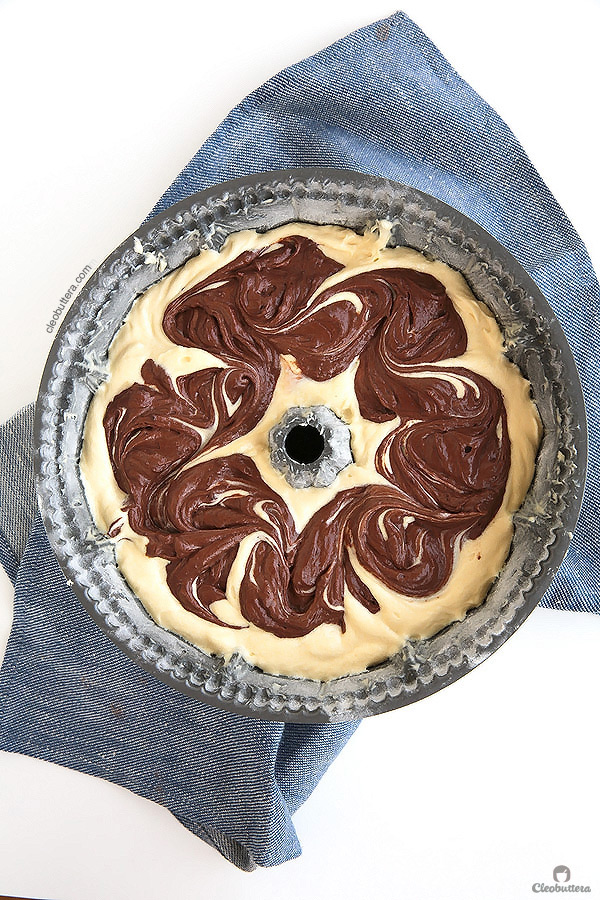
We prefer our marble cake “not so marbled.” That is, the vanilla and chocolate in opposite ends (like a yin-yang) with very little mixing, and this is what I’ll show you here. *If you prefer a more layered and mixed marbling effect, be sure to check the instructions for that in that ‘NOTES’ section of the recipe.
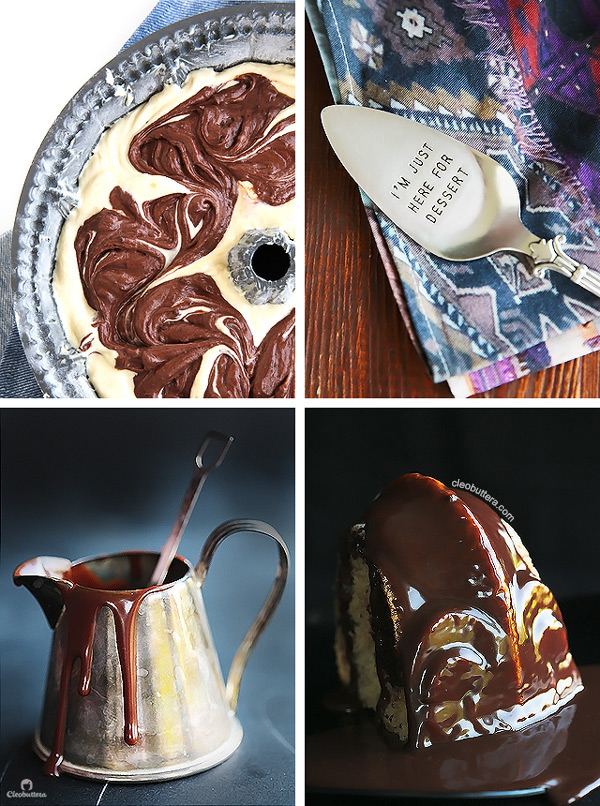
To get the yin-yang look, you’ll want to use the back of a spoon to make a tunnel in the middle of the batter, all around the pan. Spoon the chocolate batter into the tunnel, avoiding the sides. Using a butter knife, swirl the 2 batters together in an ‘S’ shape motion.
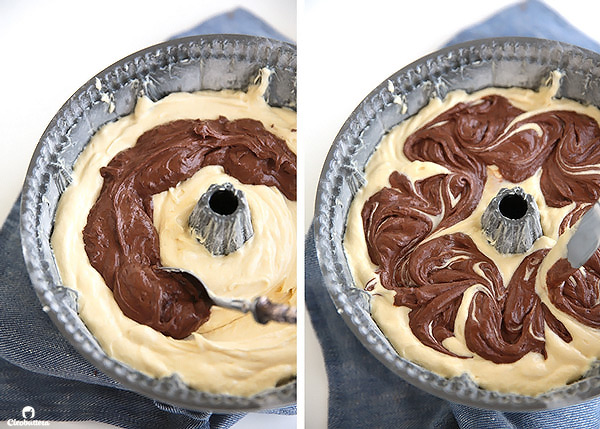
P.S: If you prefer more (or less) chocolate coverage in relation to the vanilla cake, than what you see here…worry not! I’ll tell you exactly how you could customize it your own liking in the ‘NOTES’ section of the recipe.
Into the oven it goes and comes out into this beauty.
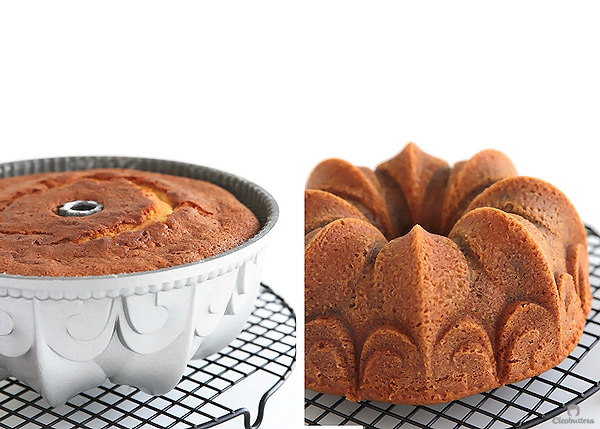
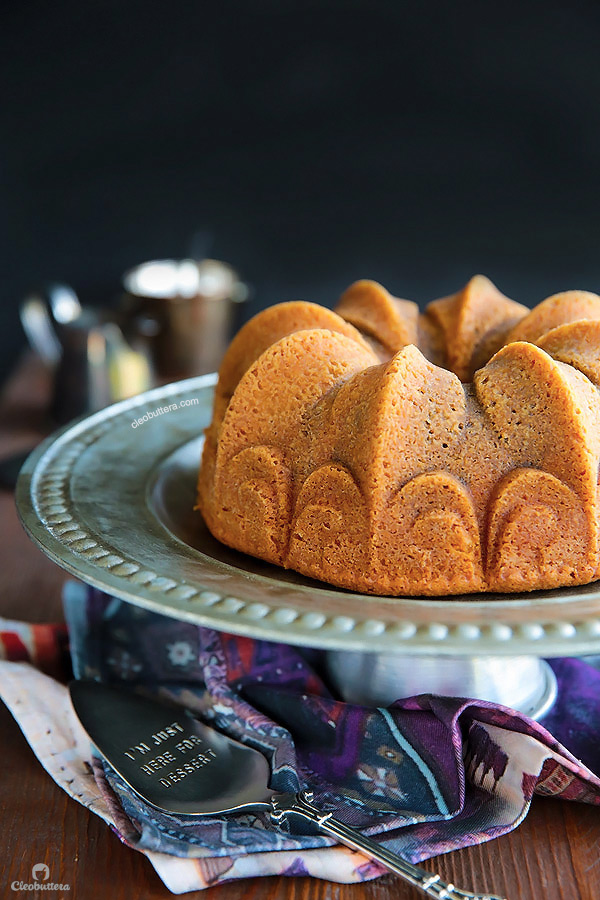
The choice is all yours now. Leave it as is; nice and simple with a cup of coffee or tea…
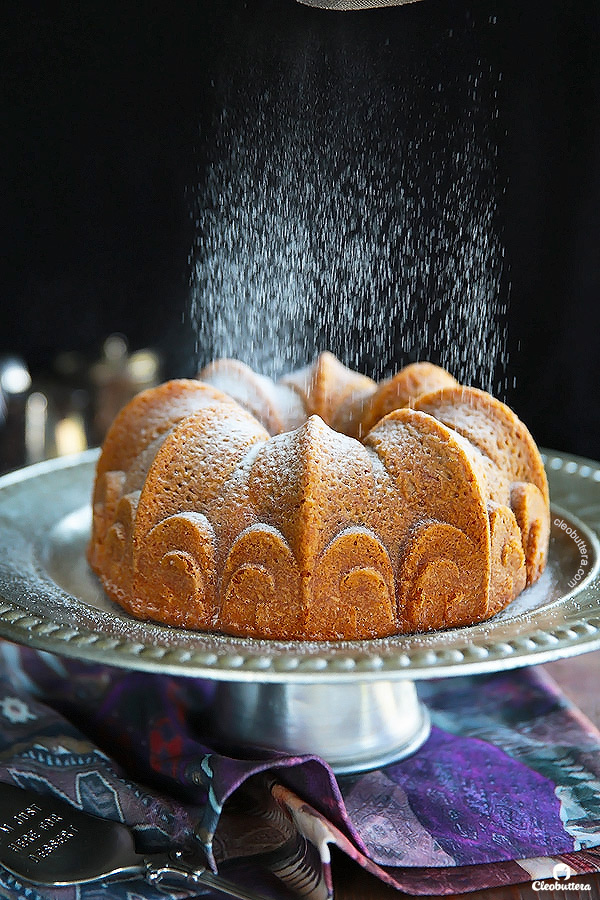
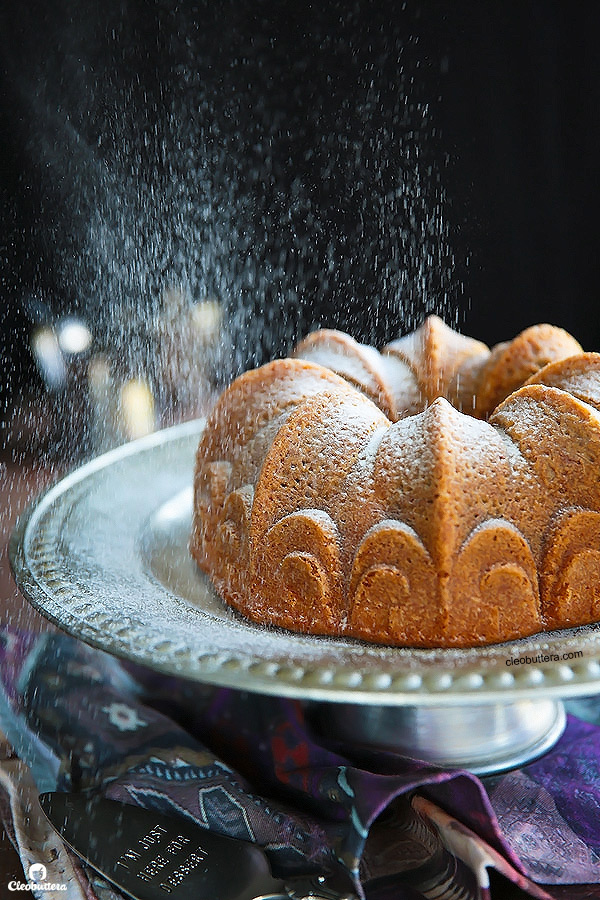
Or shower it with an avalanche of powdered sugar…
Or drizzle with that incredible glaze.
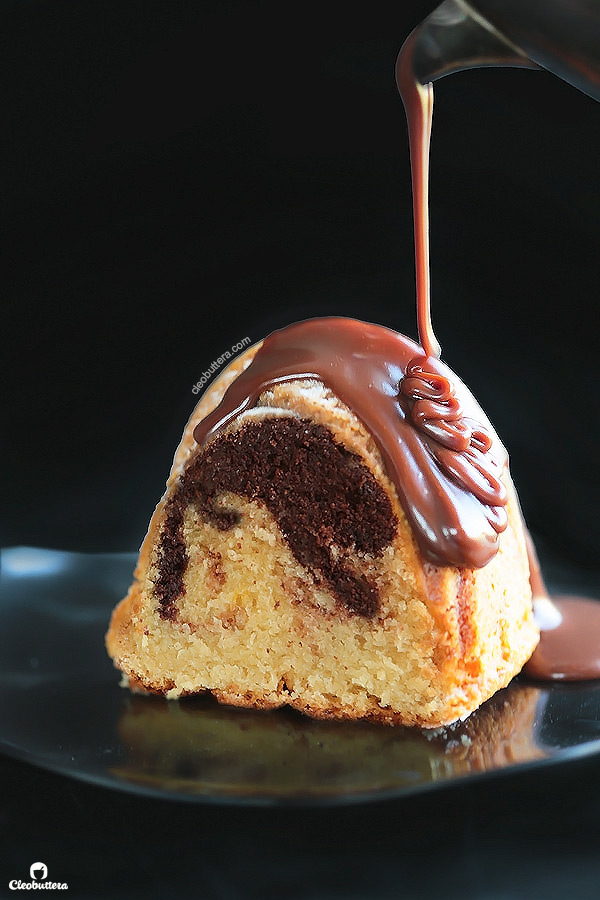
Either way…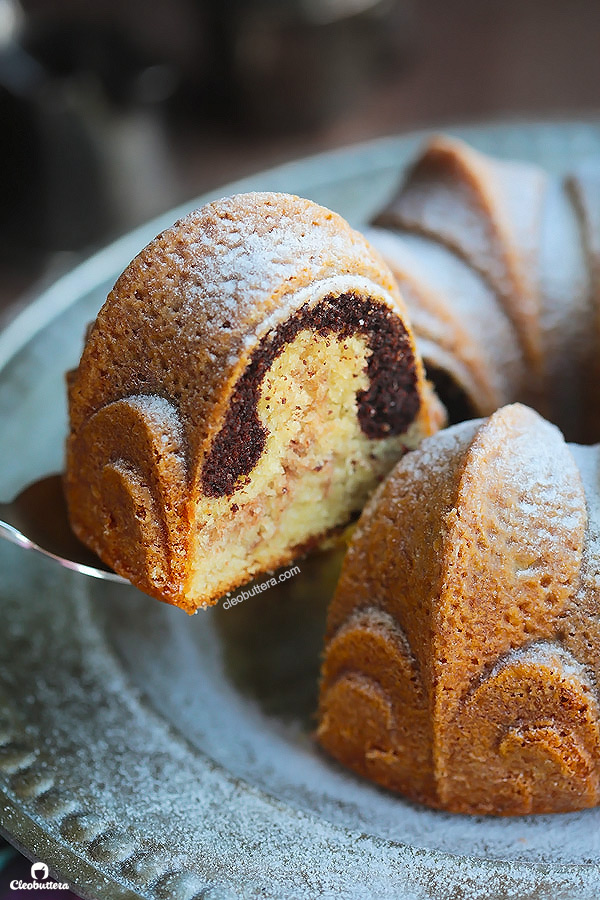

This cake will not disappoint.
And turn marble cake snobs (like my old self) into lovers.
MOIST AND TENDER MARBLE CAKE
Author: Cleobuttera
Serves: 1 (10-cup) Bundt Cake
INGREDIENTS
- 2 cups plus 3 tablespoon (7⅜oz, 210g) all purpose flour (see note below)
- ¼ cup plus 1 tablespoon (1⅜ oz, 40g) cornstarch (*see note for substitution)
- 2½ teaspoons baking powder
- ½ teaspoon baking soda
- ½ teaspoon salt
- ¾ cup (6.4oz, 181g) sour cream, at room temperature
- ¼ cup whole milk, at room temperature
- 1 cup (8oz, 227g) unsalted butter, softened to room temperature
- 1½ cups (10½oz, 300g) granulated sugar
- 2 large eggs, at room temperature
- 1 large egg yolk, at room temperature
- 1 tablespoon pure vanilla extract (1½ tablespoons if using imitation vanilla extract)
For the chocolate marbling: (*see note below for increasing or decreasing the amount of chocolate marble according to your preference)
- ¼ cup plus 2 tablespoons (30g/ 1⅛oz) unsweetened cocoa powder
- 2 tablespoons milk
- 1 tablespoon (1/2 oz, 15g) unsalted butter
- 1 tablespoon sugar
- ⅛ teaspoon baking soda
For the milk chocolate ganache glaze:
- 2.7 oz/ 77g white chocolate containing cocoa butter (I used Lindt), chopped
- 1.4 oz/ 40g semi-sweet or bittersweet chocolate, (I used Hershey's semisweet chocolate chips
- chopped
- ⅓ cup (2.7 oz/ 77g) heavy whipping cream, very hot
Get IngredientsPowered by Chicory
INSTRUCTIONS
- Adjust the oven rack to middle position and preheat the oven to 350F/180C.
- Butter and flour (or generously spray with a non-stick cooking spray) a 10-cup bundt pan (*see note).
- In a medium bowl, whisk together the flour, cornstarch, baking powder, baking soda and salt. Set aside.
- In a liquid measuring cup (or a small bowl) whisk together the sour cream and milk. Set aside.
- In the bowl of a electric mixer fitted with a paddle attachment (or in a large bowl and an electric hand mixer), beat the butter on medium speed until creamy, ribbon-like and slightly lightened up; 2 to 3 minutes.
- With the mixer running on medium-low speed, gradually add in the sugar. Raise the speed to medium-high and continue beating together until lightened up in both color and texture; 4 to 5 minutes. The color should turn very pale (almost white) and texture should look fluffy.
- Add the eggs and egg yolk, one at a time, beating well after each addition. Add in the vanilla and beat together for one minute.
- On lowest speed, add in one-third of the flour mixture and mix until mostly combined. Add in half of the sour cream/milk mixture and lightly stir until almost mixed in. Continue with adding another one-third of the flour mixture, followed by the remaining sour cream and ending with the last third of flour mixture. Mix until just combined and a smooth batter forms. Do not overmix. With a rubber spatula, give the batter one good, final stir to make sure that everything is well incorporated.
- Remove 1½ cups of the batter from the bowl and set aside.
To make the chocolate marbling:
- In a medium bowl, combine the milk, butter and sugar and heat in the microwave until the butter has melted. Whisk to dissolve the sugar. Add in the cocoa powder and stir really well until there are no lumps and a very thick chocolate paste forms. Add in the baking soda and stir again.
- Take a few tablespoons from the reserved vanilla cake batter and stir really well into the chocolate paste to lighten it up. Add the remaining reserved cake batter into the chocolate mixture and fold until evenly incorporated and no light streaks remain.
- (Note: The following method of marbling creates a cake with subtle marbleness, meaning that the vanilla and chocolate portions are more distinct in 2 different ends like a yin yang, instead of them being throughly mixed in a zebra-like pattern. It's just a matter of preference. Please see note below for a more layered marbling effect). Transfer the vanilla cake batter into the prepared pan, then using the back of a spoon, make a tunnel in the middle, around the pan. Spoon the chocolate batter into the tunnel, avoiding the sides. Using a butter knife, swirl the 2 batters together in an 'S' shape motion.
- Bake in the oven for 40 to 50 minutes, or until the center springs back to the touch and a skewer inserted down the center of the cake comes out clean or with a few moist but cooked crumbs attached.
- Allow to cool in the pan for 20 minutes then invert on to a wire rack to cool completely.
- Serve plain or dust with powered sugar or drizzle with the milk chocolate ganache glaze (recipe below) if you prefer.
- The cake will keep for 3 days stored in air-tight container, at room temperature.
To make the milk chocolate ganache glaze:
- In a small microwave-safe bowl, combine together both chocolates and heat in the microwave, stirring every 15 seconds, until almost completely melted; about 1½ minutes.
- Remove from the microwave and stir until completely melted.
- Pour the hot cream on top of the chocolates and stir until completely smooth. It will look broken at the beginning but will come together just fine as you continue to stir. If you'd like, press the glaze through a fine-mesh strainer for a smoother finish.
- Allow the ganache to cool a bit, until it mounds slightly before smoothly disappearing; about ½ an hour.
- Use the glaze right away or cover until ready to use, reheating it in 3 second bursts in the microwave until desired consistency is achieved.
NOTES
* Cornstarch is used in combination with the all-purpose flour in this recipe to imitate the results of cake flour, which produces a finer and more tender crumb. Cake flour could be hard to find in some areas, so this trick works like a charm. If you have cake flour on hand, by all means use that instead of the all purpose flour/cornstarch combo. You will then need to use a total of 2½ cups (8.7oz/ 250g) cake flour.
*A larger bundt pan maybe used, however it may bake faster, so check earlier than the suggested timing for doneness. Although I haven't tried it myself, but I believe that this recipe will work just fine divided between 2 loaf pans.
*In our house, we prefer a 3:1 ratio of vanilla to chocolate cake. However, I understand that this can vary from one person to another. Some people like almost equal amounts of chocolate and vanilla, while others like a barely there chocolate swirl. Here's how you could personalise it to suite your taste:
For less chocolate batter:
Mix only 1 cup of the vanilla batter in this amount of chocolate paste:
- 1/4 cup (20g) unsweetened cocoa powder
- 1½ tablespoons milk
- 2 teaspoon butter
- 2 teaspoons sugar
- A pinch of baking soda
For more chocolate batter:
Mix 2 cups of the vanilla batter in this amount of chocolate paste:
- 1/2 cup (40g) unsweetened cocoa powder
- 3 tablespoons milk
- 1½ tablespoons butter
- 1½ tablespoons sugar
- 3/8 teaspoon baking soda
*To create a more layered marbling effect, that is more mixed in with the vanilla batter, so you get both the chocolate and vanilla in one bite, alternate between batter layers. Start by filling the bottom of the pan with ⅓ of the vanilla cake batter, followed by ⅓ of the chocolate batter, then cover with another third of the vanilla batter, then another third chocolate, the remaining vanilla then finishing off with the chocolate. Using a butter knife, swirl together in an 'S' shaped motion, but don't over do it.
*The beautiful bundt pan that I used is called Fleur De Lis byNordicware.
Marble Cake recipe: A Cleobuttera Original
Milk chocolate ganache glaze adapted from The Baking Bible
more recipes @ https://cleobuttera.com
BERITA LENGKAP DI HALAMAN BERIKUTNYA
Halaman Berikutnya
0 Response to "Moist and Tender Marble Cake"
Post a Comment